The Ultimate Guide to Bathroom Renovations: From Design to Completion
The Ultimate Guide to Bathroom Renovations: From Design to Completion
Renovating a bathroom is an exciting project that can drastically improve both the function and aesthetics of your home. Whether you’re updating an outdated space or completely transforming a small, cramped room into a luxurious retreat, a bathroom renovation offers many opportunities. However, it also requires careful planning and a significant investment of time, money, and effort. From initial design to final touches, this guide will walk you through every step of the bathroom renovation process, ensuring that you have all the information needed to make informed decisions and achieve your desired results.
Step 1: Setting a Budget and Timeline
Before embarking on any renovation project, it’s essential to establish a clear budget and timeline. Bathrooms can be one of the more expensive rooms in a home to renovate, depending on the scale of the project and the quality of materials chosen. The average cost of a bathroom renovation can range from a few thousand dollars for a simple update to tens of thousands of dollars for a high-end, custom remodel.
Start by determining how much you’re willing to spend on your bathroom renovation. Be sure to account for costs such as materials, labor, permits, and unexpected expenses that may arise during the process. It’s always a good idea to set aside a contingency fund of about 10-15% of your total budget for unforeseen costs.
Once you have a budget in mind, create a timeline for your renovation. A simple renovation may take a few weeks, while more complex projects, such as relocating plumbing or installing custom cabinetry, can take several months. Having a clear timeline will help you stay on track and manage expectations.
Step 2: Assessing Your Current Bathroom
Before diving into design ideas and material selection, take some time to evaluate your current bathroom. What aspects of the space do you like? What is not working for you? This is an opportunity to determine the areas that need improvement and how you want to use the space moving forward.
Consider the layout, storage options, lighting, and overall flow of the room. Are the existing fixtures outdated or inefficient? Do you need more storage for toiletries, towels, or linens? Is there enough natural light or would you benefit from additional lighting options? By addressing these questions, you can identify the key areas that need attention and focus on the elements that will enhance your bathroom’s functionality.
Step 3: Planning the Design
Designing your dream bathroom can be both thrilling and overwhelming. To begin, think about the overall style you want to achieve. Do you prefer a modern, minimalist look, or are you drawn to a more traditional or rustic aesthetic? Your design choices should reflect your personal style and preferences while also considering the practicality of the space.
Start by creating a vision board or gathering inspiration from magazines, websites, or social media platforms like Pinterest. Collect images of bathrooms that appeal to you, paying attention to color schemes, materials, layouts, and features. This will give you a clearer idea of what you want and help guide your decision-making process.
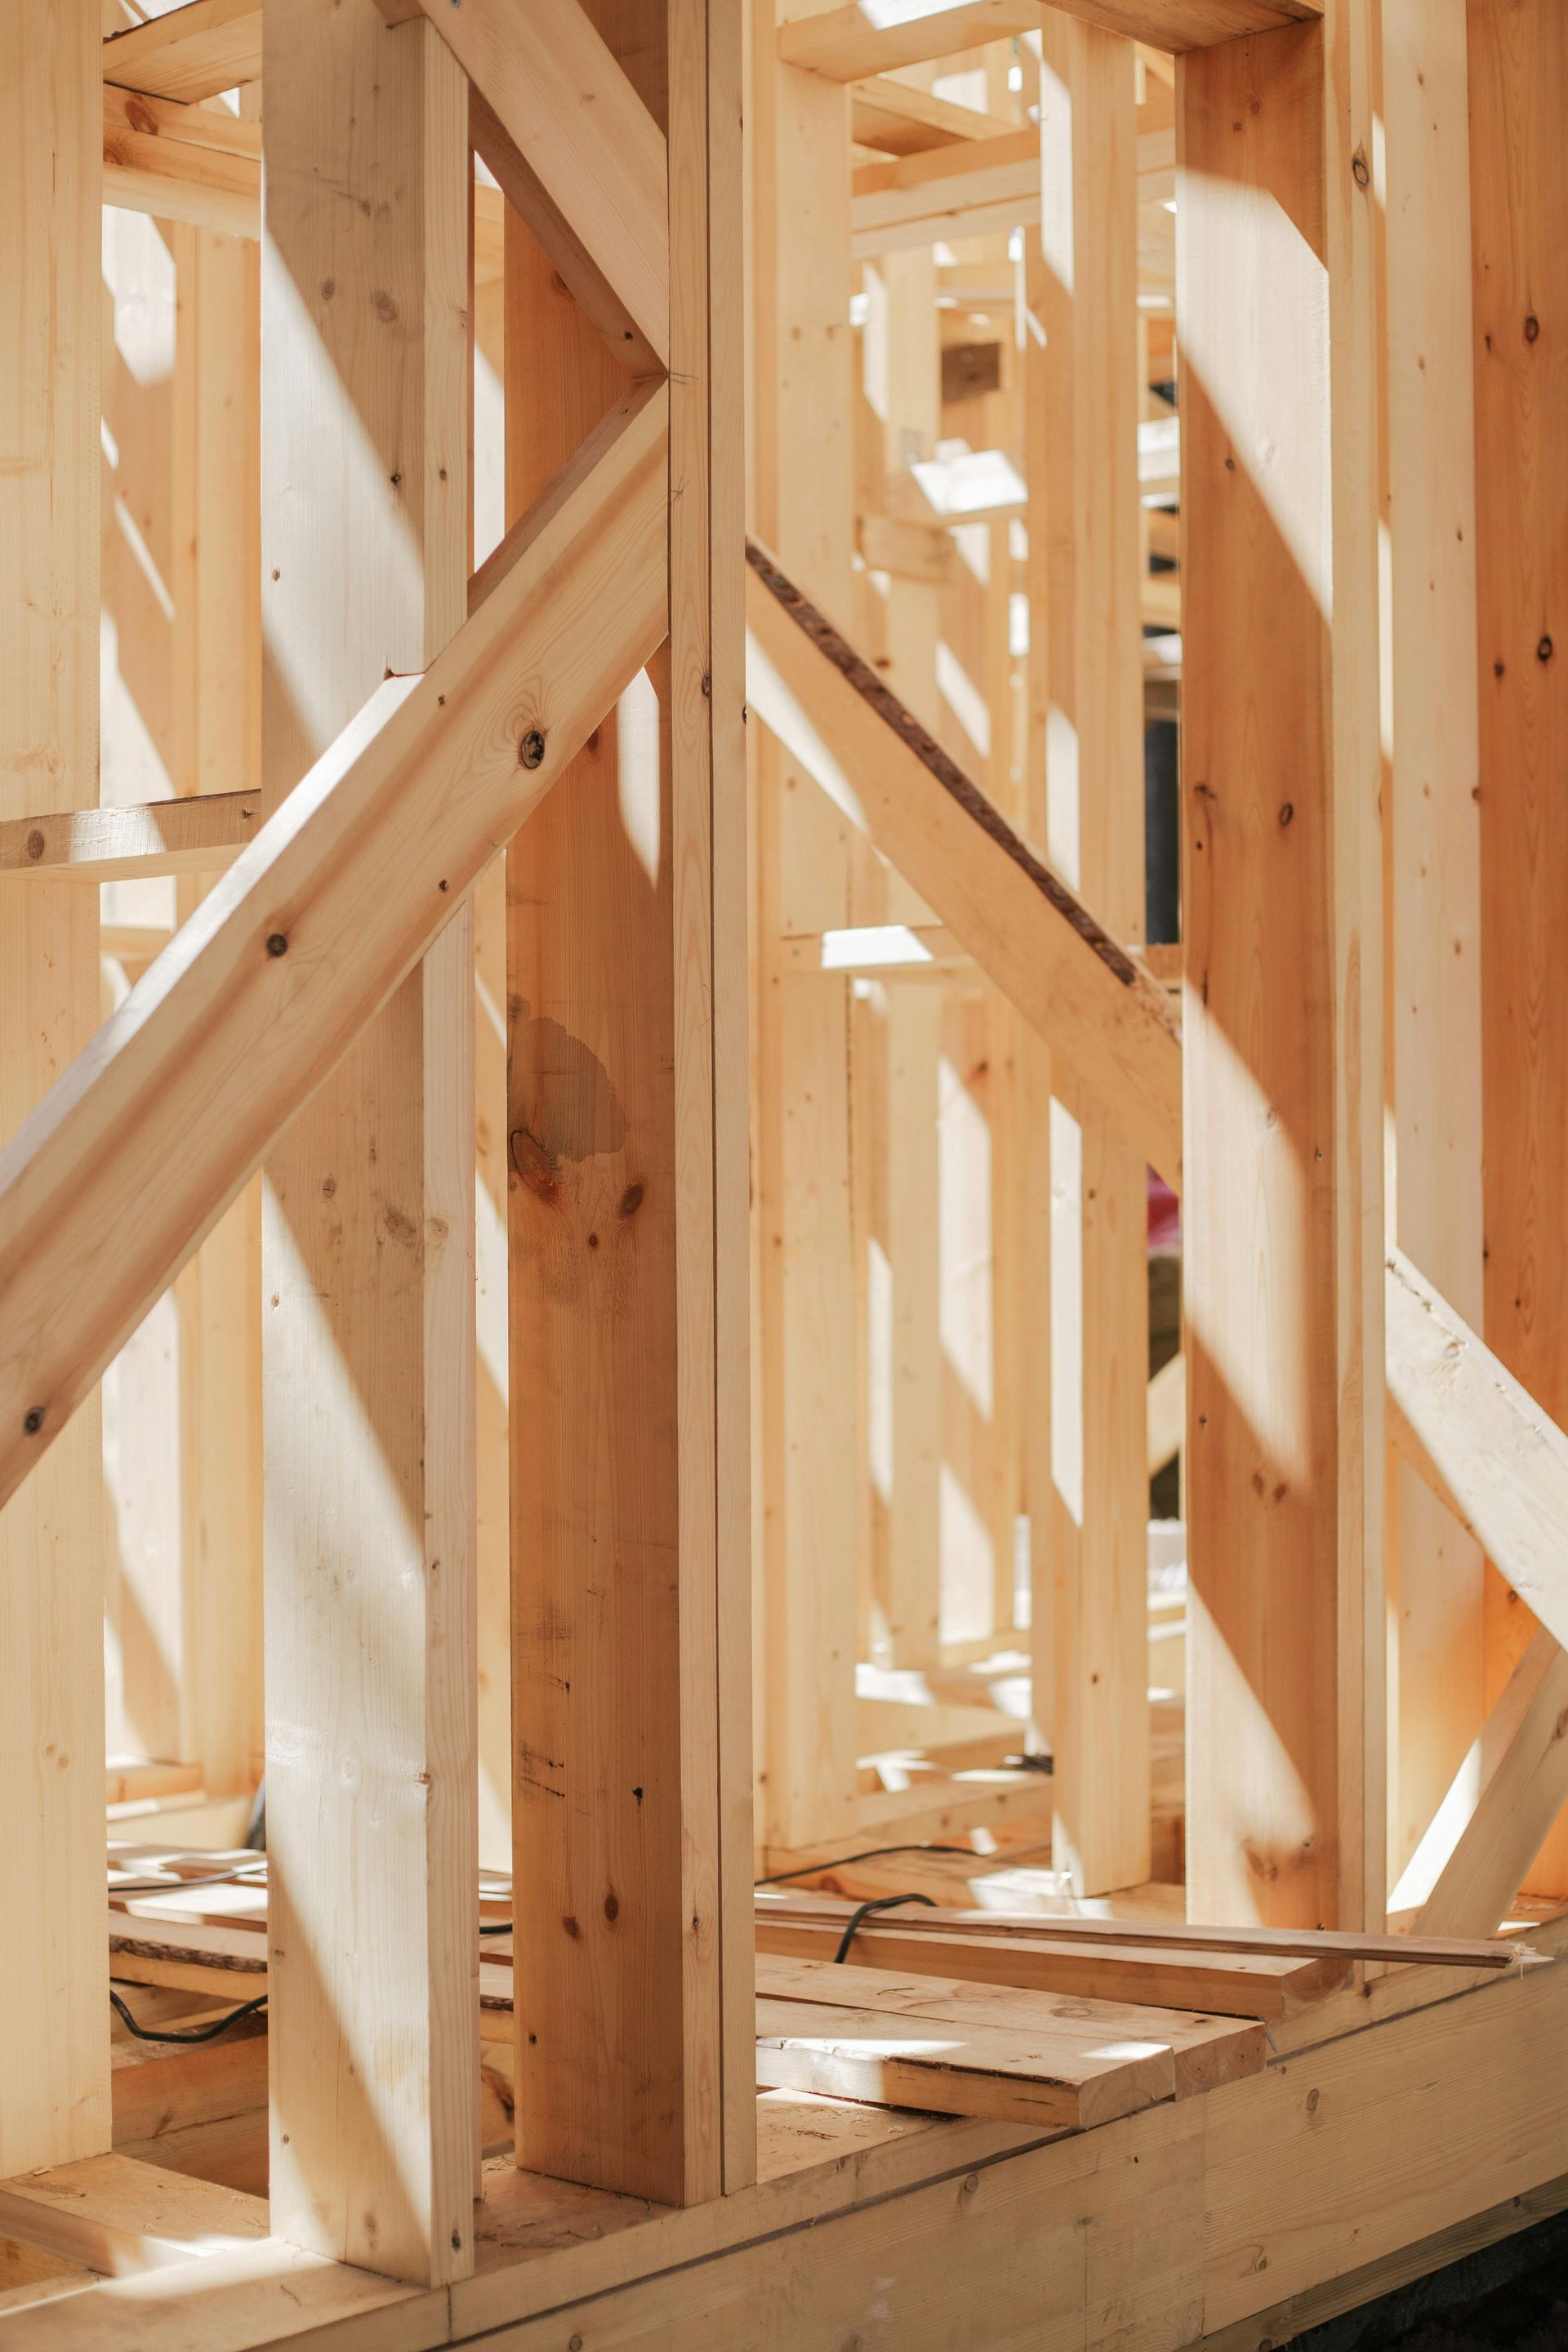
Next, think about the layout of the room. Depending on the size and shape of your bathroom, you may have the opportunity to change the layout entirely. This might involve moving the sink, shower, or toilet to a different location for better flow or to maximize space. However, keep in mind that moving plumbing fixtures can be costly and time-consuming. If possible, try to work within the existing layout to save money and simplify the renovation.
Step 4: Selecting Materials and Fixtures
Choosing the right materials and fixtures for your bathroom renovation is crucial to achieving the look and functionality you desire. The materials you select will not only impact the aesthetic appeal of the space but also its durability and maintenance requirements. Here are some common materials and fixtures to consider:
Flooring: Tile is a popular choice for bathroom floors due to its durability, water resistance, and variety of styles. Ceramic, porcelain, and natural stone tiles are all excellent options, with each offering different price points and design possibilities. Vinyl flooring is another budget-friendly alternative that can mimic the look of more expensive materials while being easier to install and maintain.
Walls: Tile is commonly used on bathroom walls, particularly in high-moisture areas like the shower. Subway tiles, mosaic tiles, and large-format tiles are all popular choices for bathroom walls. For a more budget-friendly option, consider using paint or beadboard paneling for a classic look.
Vanities and Cabinets: A well-chosen vanity can make a significant impact on your bathroom’s design. Vanities come in various sizes, styles, and materials, from traditional wood to modern floating designs. When selecting a vanity, make sure to consider storage space and the number of people who will be using the bathroom. If space is limited, consider custom cabinetry or wall-mounted units to save floor space.
Shower or Bathtub: Deciding between a shower, bathtub, or both depends on your personal preference and the amount of space available in your bathroom. Freestanding bathtubs are popular in modern and luxury bathrooms, while alcove or corner bathtubs can be more space-efficient. If you prefer a shower, consider options like walk-in showers, frameless glass enclosures, or wet rooms for a sleek, open design.
Toilets: Toilets are an essential part of any bathroom renovation. Look for models that offer water efficiency, comfort, and style. There are many options available, including one-piece, two-piece, and wall-mounted toilets, each with its advantages and disadvantages.
Lighting: Proper lighting is essential in a bathroom, where both functionality and ambiance matter. Incorporate a combination of ambient, task, and accent lighting to achieve a balanced effect. Recessed lighting or ceiling-mounted fixtures provide general illumination, while sconces or pendant lights near the mirror offer task lighting for grooming. Consider dimmer switches to control the lighting levels.
Step 5: Hiring Professionals vs. DIY
One of the most significant decisions in a bathroom renovation is whether to hire professionals or attempt the project yourself. While DIY renovations can save money, they require a certain level of skill and experience. Plumbing, electrical work, and tiling are all specialized tasks that require proper knowledge and tools.
If you’re comfortable with DIY projects, you might consider handling aspects like painting, installing fixtures, or laying down flooring. However, for more complicated tasks, such as moving plumbing, installing a new shower, or reconfiguring electrical systems, it’s best to hire professionals. A skilled contractor, plumber, or electrician will ensure that the work is completed correctly, safely, and up to code.
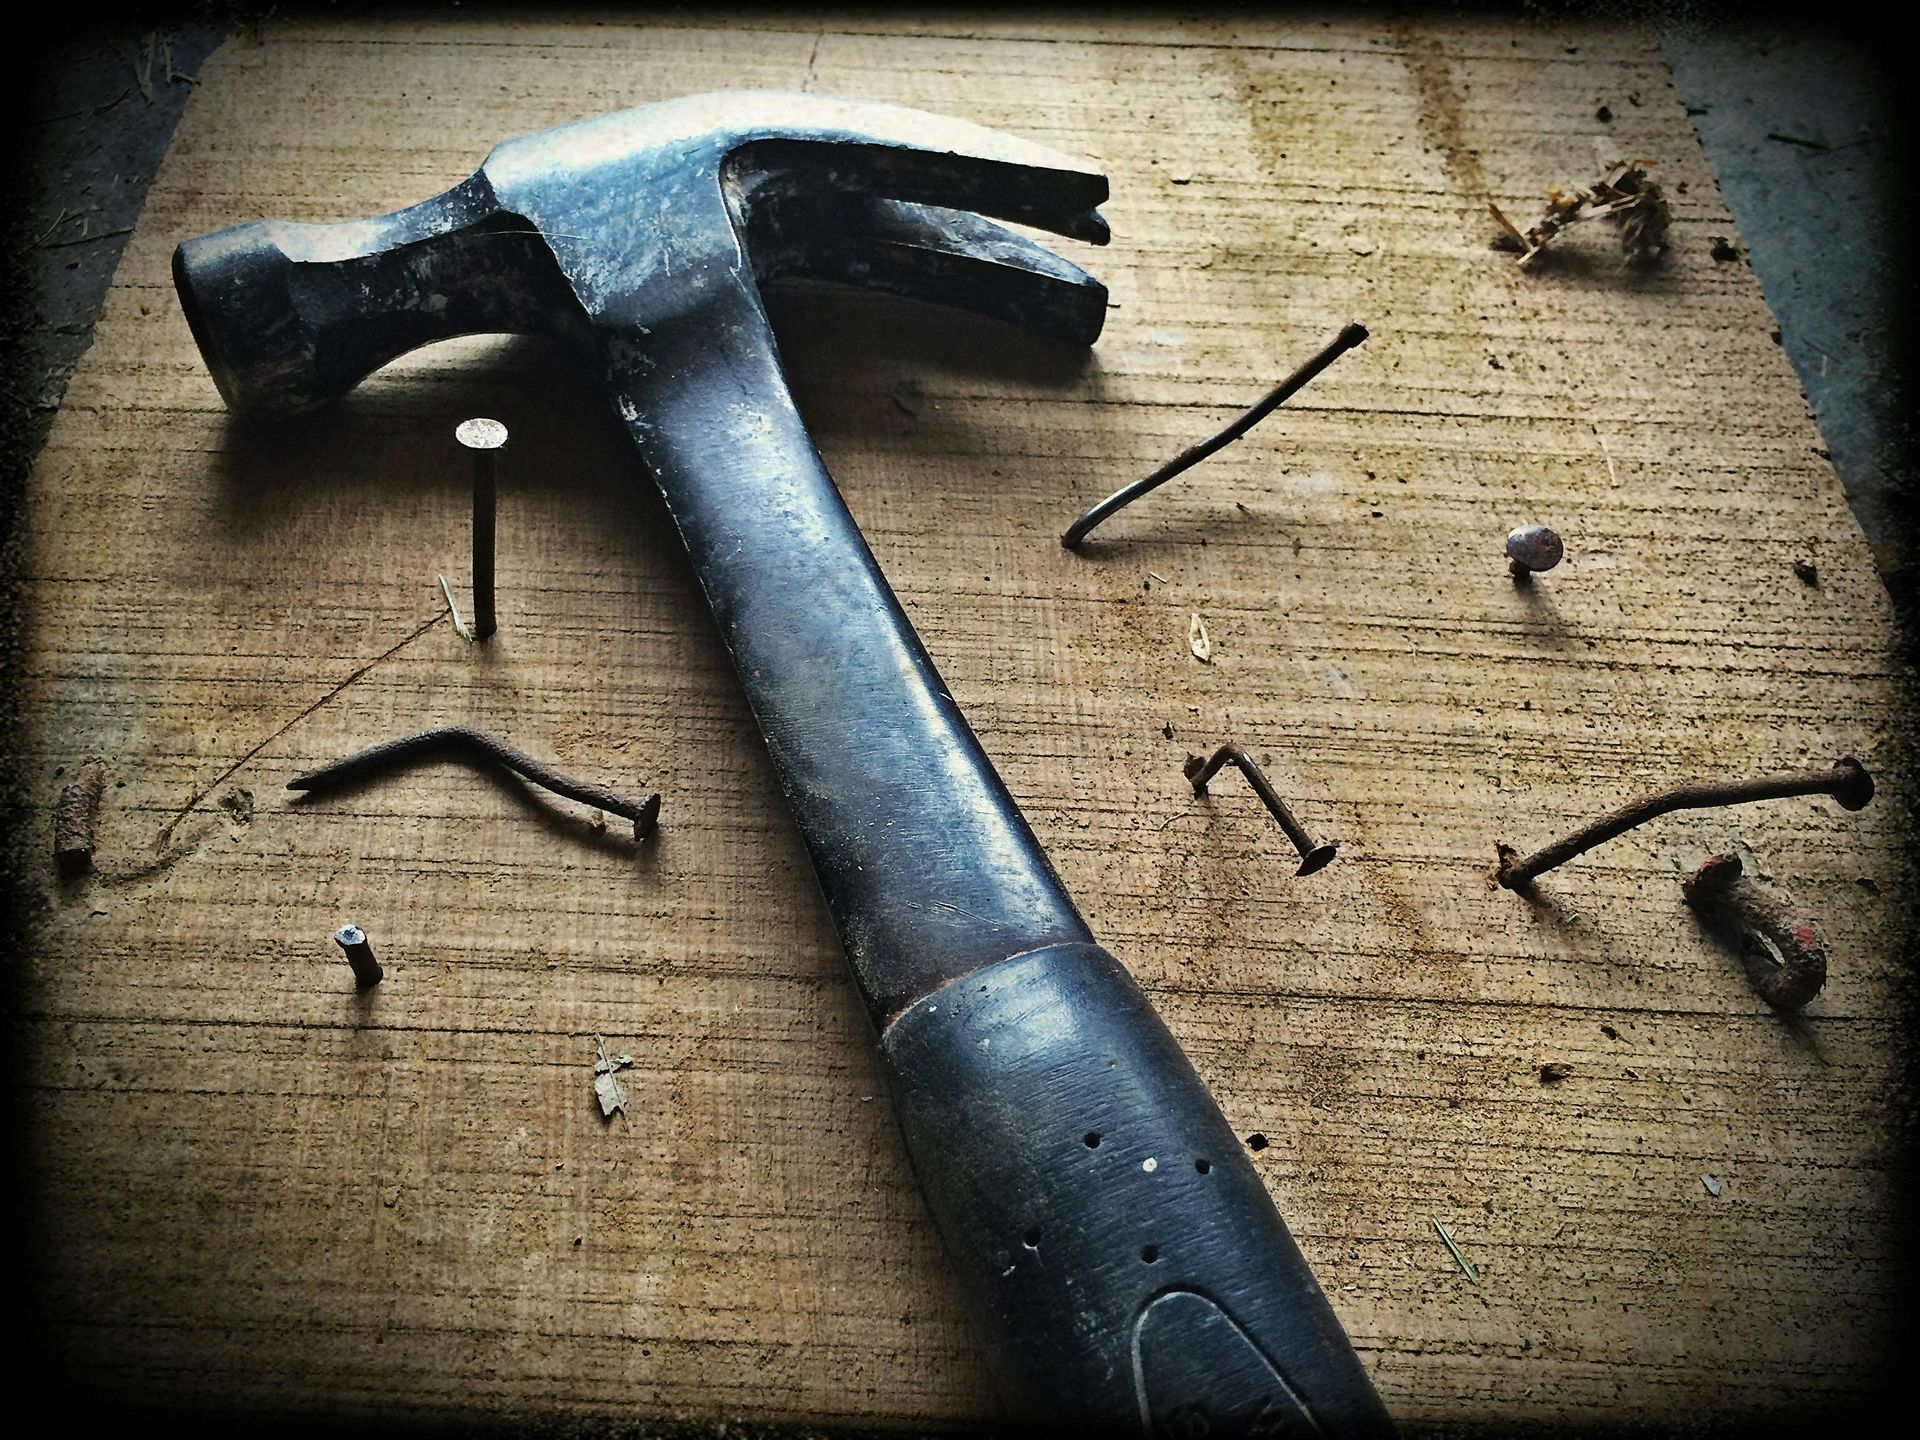
Step 6: Demolition and Preparation
Once the design and materials are in place, the next step is demolition and preparation. This can be a messy and labor-intensive part of the process, especially if you’re removing old fixtures, tiles, or cabinetry. It’s essential to protect the surrounding areas with drop cloths or plastic sheeting to minimize damage to the rest of your home.
If you’re working with a contractor, they will handle the demolition and disposal of materials. Be sure to communicate clearly about what needs to be removed and what should remain intact. If you’re doing it yourself, take proper safety precautions, including wearing protective gear and using the right tools for the job.
Step 7: Installation of New Fixtures and Finishes
With the old fixtures out of the way, the next step is the installation of your new bathroom components. Depending on the complexity of your renovation, this may involve installing a new vanity, shower, bathtub, toilet, and other fixtures. If you’ve chosen custom cabinetry or unique materials, installation may take longer, so be patient with the process.
During this stage, your plumber and electrician will also be involved in installing new plumbing and electrical connections for your fixtures. They will ensure that all systems are functioning properly, with no leaks or issues.
Step 8: Finishing Touches
Once the major installations are complete, it’s time for the finishing touches. This includes painting the walls, adding decorative elements like mirrors and artwork, and installing hardware such as towel bars, faucets, and cabinet pulls. Consider adding accessories like plush towels, bath mats, and storage baskets to create a cohesive and inviting atmosphere.
Step 9: Final Inspection and Cleaning
Before you can enjoy your newly renovated bathroom, a final inspection should be conducted to ensure that everything is up to code and functioning properly. This may involve a visit from a building inspector, especially if any electrical or plumbing work was done. If everything passes, it’s time to clean up the space and remove any construction debris.
Step 10: Enjoy Your New Bathroom!
With the renovation complete and everything in place, it’s time to relax and enjoy your newly remodeled bathroom. Whether it’s a serene spa-like retreat or a functional and stylish family bathroom, a well-executed renovation can add both value and comfort to your home.
Renovating a bathroom can be a rewarding project, transforming a simple space into one that enhances the quality of your daily life. By carefully planning the design, selecting the right materials, and hiring the right professionals, you can ensure that your bathroom renovation is a success from start to finish. Keep in mind that a successful bathroom renovation requires careful attention to detail, so take your time and enjoy the process.
You might also like